Photo Proofing Checklist for Faster Client Decisions

Director of Newborn Story Photography Ltd and co-founder of Safe Frame
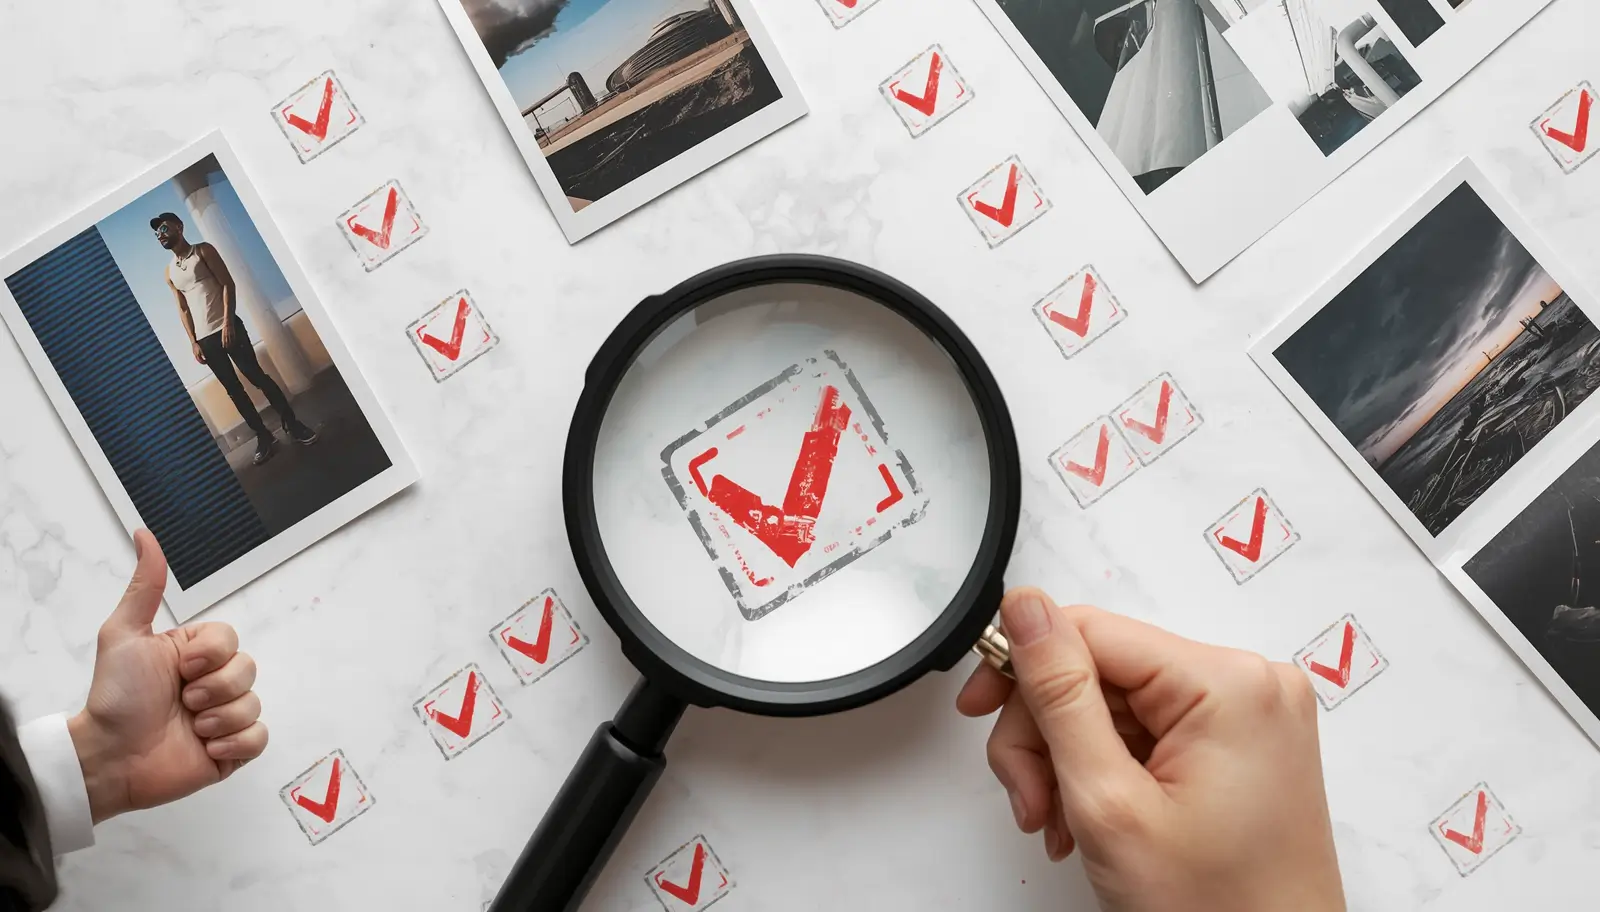
A good proofing process removes friction for clients. If choosing images feels hard, they postpone decisions and your order cycle gets longer.
Checklist you can reuse for every gallery
- Start with a curated first view where best shots appear first.
- Add explicit favorite and shortlist actions in the interface.
- Set one visible deadline for final selection and remind once.
- Share what happens after selection so clients know the next step.
Tie proofing to your sales path
Proofing should naturally guide clients toward print packages or final digital delivery. Remove dead-ends and keep one clear action per stage.
If your team adopts one repeatable checklist, response time improves and fewer galleries stay unresolved for weeks.
Related reading

Nina
Director of Newborn Story Photography Ltd and co-founder of Safe Frame
Nina is a professional newborn and family photographer based in North East England with over 14 years behind the camera. Her experience ranges from forensic imaging labs to running a family-focused portrait studio, which shapes how she approaches safe delivery, sensitive client data, and honest sales conversations.
View author page →Reviewed: April 13, 2026
Editorial policy
Related in this topic cluster
Safe Frame Blog
Actionable guides for photographers who want to protect images, speed up proofing, and increase print sales.
Build secure client galleries with SafeFramePro
Protect previews, speed up proofing, and increase print sales with one workflow.