Where Do Snipping Tool Screenshots Go on Windows?

Director of Tiny Toes by Aggi Ltd and co-founder of Safe Frame
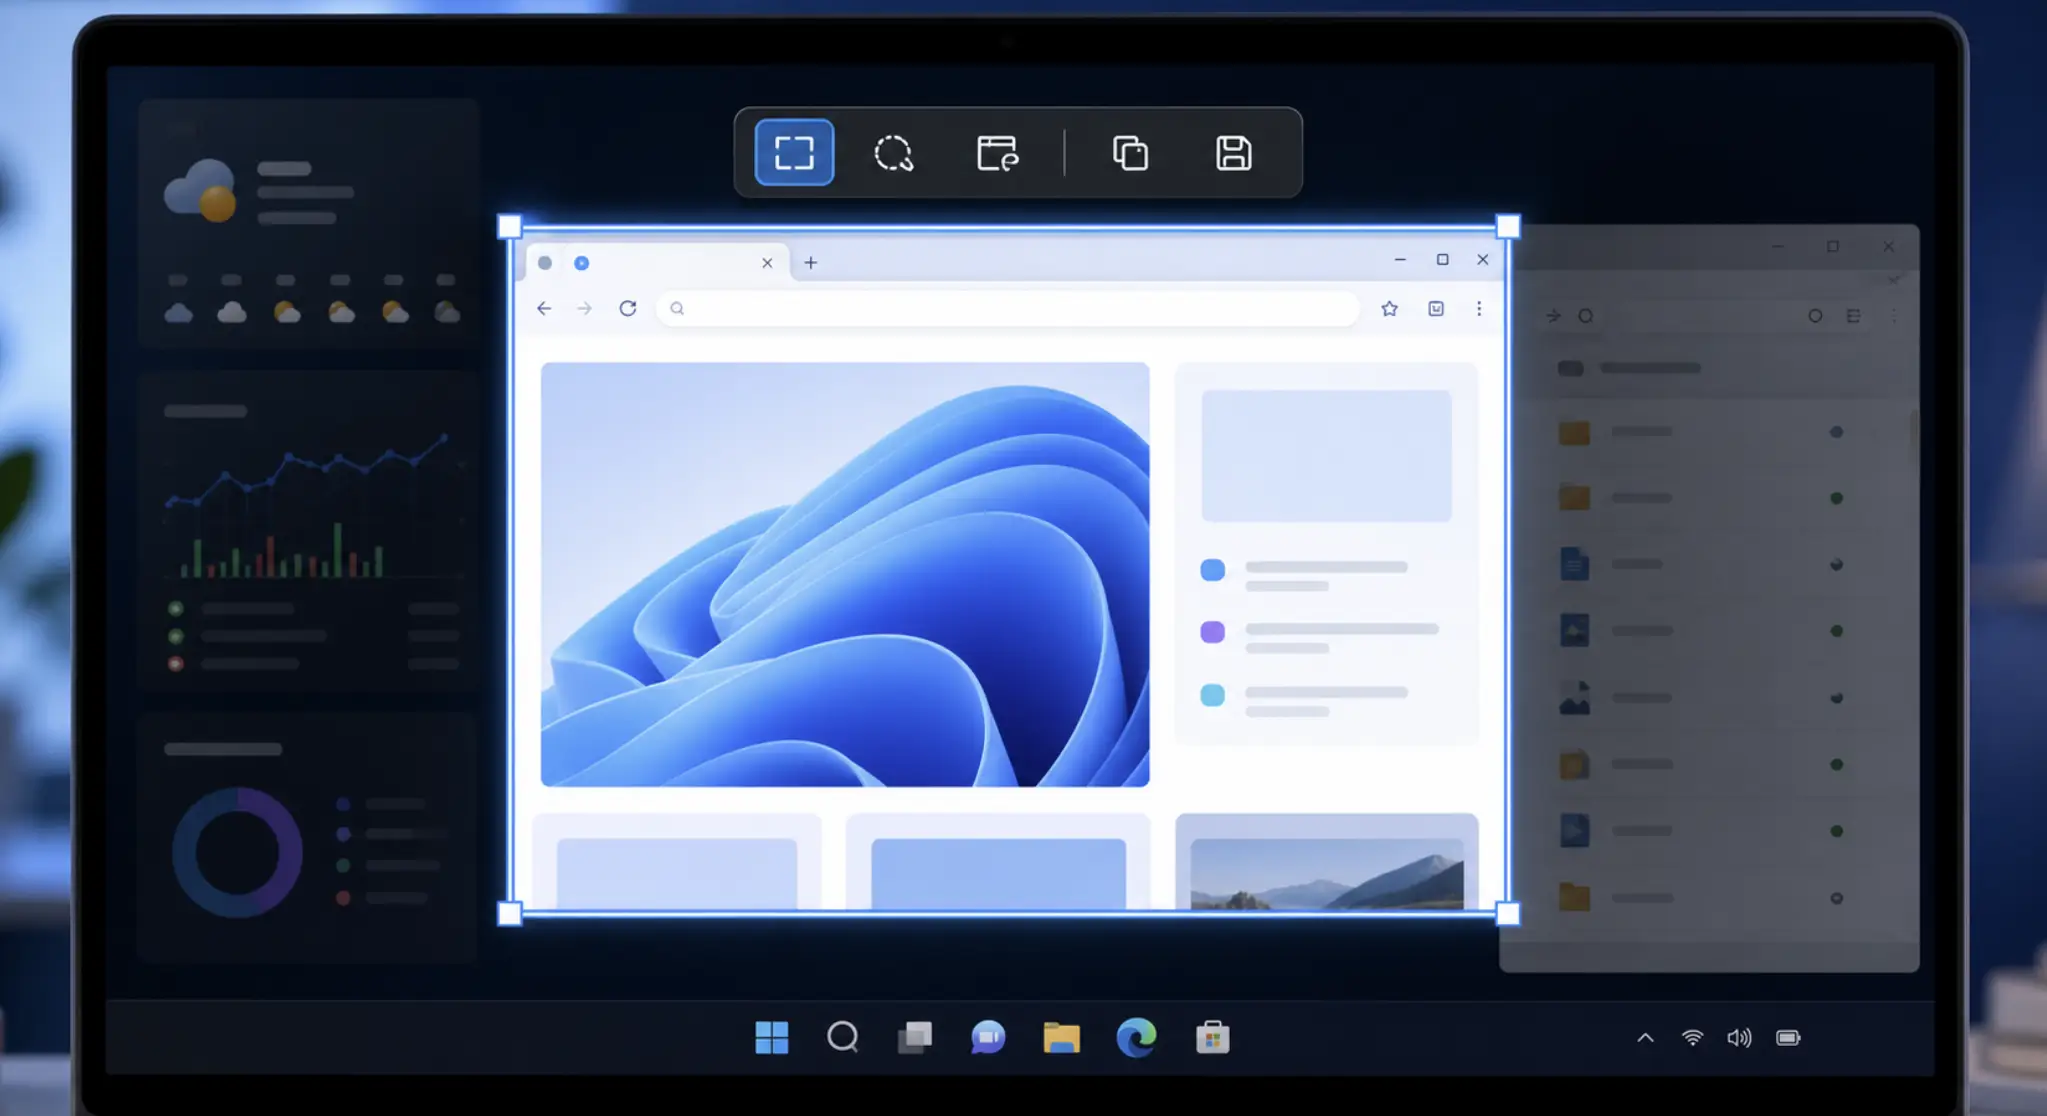
If you take a screenshot with the Windows Snipping Tool, it usually ends up in one of two places: your clipboard, definitely, and if auto-save is turned on, your Screenshots folder too.
The main place to check is C:\Users\[Username]\Pictures\Screenshots. In File Explorer, you can also paste %userprofile%\Pictures\Screenshots into the address bar at the top and press Enter.
If it is not there, the next likely places are clipboard history, OneDrive's Pictures folder, or sometimes the Snipping Tool temporary cache if you never actually saved the image yourself.
Where Snipping Tool screenshots usually go on Windows 10 and 11
On Windows 11, things are mostly straightforward. The current Snipping Tool usually saves screenshots automatically as PNG files in Pictures\Screenshots. The files are often named with a date and time, like Screenshot 2026-07-09 143512.png.
Windows 10 is messier because Microsoft changed the screenshot tools a few times. The old Windows 10 Snipping Tool usually did not auto-save, so you had to click Save. Snip & Sketch on Windows 10 could behave more like the newer tool, depending on version and settings. Windows 11 Snipping Tool usually supports automatic saving to the Screenshots folder.
That difference matters. If you are on an older Windows 10 machine and you closed the snip without saving it, it may not exist as a file anywhere. It might only have been on the clipboard.
- Win + PrtScn usually saves to the Screenshots folder.
- PrtScn may open Snipping Tool on newer Windows 11 settings.
- Win + Shift + S may save there too if Snipping Tool auto-save is enabled.
Clipboard first, file second
When you press Win + Shift + S, Windows starts a screen capture. You pick an area, a window, or the whole screen. After that, Windows may do two separate things.
First, it copies the screenshot to the clipboard. That is why you can immediately jump into an email, Teams chat, Word document, Paint, or another app and press Ctrl + V.
Second, if automatic saving is enabled, Snipping Tool also writes a PNG file to the Screenshots folder. Clipboard is temporary. The saved PNG is the permanent version.
If you copy something else, the active clipboard item can be replaced. Clipboard history helps, but only if it was already turned on. Press Win + V to check it. If your screenshot is there, click it, paste it into Paint or another app, and save it properly.
One important catch: if clipboard history was not enabled when you took the screenshot, turning it on afterward will not bring that old screenshot back.
Finding the default save path in File Explorer
- 1. Open File Explorer.
- 2. Click the address bar at the top, not the search box.
- 3. Paste %userprofile%\Pictures\Screenshots.
- 4. Press Enter.
If auto-save has been working, your screenshots should be there as PNG files. You can also get there manually by opening Pictures > Screenshots.
OneDrive can make this look different. If OneDrive is backing up your Pictures folder, Windows may redirect your Pictures folder to C:\Users\[Username]\OneDrive\Pictures\Screenshots. Your local C:\Users\[Username]\Pictures folder might look empty while the real Screenshots folder is under OneDrive.
- Check C:\Users\[Username]\Pictures\Screenshots.
- Check %userprofile%\Pictures\Screenshots.
- Check C:\Users\[Username]\OneDrive\Pictures\Screenshots.
- Check clipboard history with Win + V.
- Search your user folder for Screenshot*.png and sort by Date modified.
What about Snipping Tool screen recordings?
On newer Windows 11 versions, Snipping Tool can also record video. Those recordings are usually saved as .mp4 files, often in C:\Users\[Username]\Videos\Screen Recordings. You can also try %userprofile%\Videos\Screen Recordings.
Depending on your Windows version and settings, screen recordings may also end up around the normal Videos or Captures folders. If you cannot find them, search your user folder for *.mp4 and sort by Date modified.
If you copied a screenshot and never saved it
Recovery depends on whether Windows still has a copy somewhere. First, press Win + V and check clipboard history. If you see the screenshot, paste it into Paint, Photos, Word, or another app, then save it.
The second place to check is the Snipping Tool temp cache. For Windows 11 Snipping Tool, paste this path into File Explorer: %LOCALAPPDATA%\Packages\Microsoft.Windows.SnippingTool_8wekyb3d8bbwe\TempState\ScreenClip.
For Windows 10 Snip & Sketch, check %LOCALAPPDATA%\Packages\Microsoft.ScreenSketch_8wekyb3d8bbwe\TempState\ScreenClip.
If you find recent files there, copy them somewhere safer right away, like your Desktop or Pictures folder. The files in this cache may not always have nice names. If a file looks like an image but will not open, copy it first, then rename the copy so it ends in .png.
If auto-save was off, clipboard history was disabled, and the temp cache has already cleared out, then the screenshot may simply be unrecoverable.
Why Snipping Tool sometimes does not save anything
The most common reason is simple: auto-save is turned off. Open Snipping Tool, go to the three-dot menu, open Settings, and check whether Automatically save screenshots is enabled.
Another common issue is expecting older Windows 10 behavior to match Windows 11. It does not always. The legacy Snipping Tool was different. If you captured something, closed the window, and never clicked Save, Windows may have discarded it.
OneDrive can also make things look broken when they are not. Screenshots may be saving perfectly fine, just not where you expected. If Pictures is redirected to OneDrive, check OneDrive > Pictures > Screenshots.
Why the PrtScn key may suddenly open Snipping Tool
On newer Windows 11 systems, pressing the physical PrtScn key may open Snipping Tool instead of doing the old full-screen clipboard copy. That is controlled in Settings > Accessibility > Keyboard > Use the Print screen key to open screen capture.
This can also explain why your Screenshots folder is suddenly filling up. You might be hitting Print Screen out of habit, but now Windows is routing that through Snipping Tool behavior.
Changing where Snipping Tool saves screenshots
Snipping Tool does not always give you a clear default-folder picker inside the app. Windows mostly treats the Screenshots folder as the target location. The usual way to change it is through the Screenshots folder location.
- Open C:\Users\[Username]\Pictures.
- Right-click the Screenshots folder.
- Choose Properties.
- Open the Location tab.
- Click Move, choose the new folder, click Apply, and confirm the move if Windows asks.
Be careful if you move it into OneDrive, Dropbox, or Google Drive. It is convenient, but it may also upload every screenshot automatically, which can be a privacy problem or a quick way to burn through cloud storage.
If the Location tab is missing or the save folder is broken
- Check OneDrive's Pictures folder.
- Recreate Pictures\Screenshots manually.
- Turn Snipping Tool auto-save off and back on.
- Restart Windows.
If the Screenshots folder path is still broken, there is a Registry fix, but treat it as a last resort. Open Registry Editor and go to HKEY_CURRENT_USER\Software\Microsoft\Windows\CurrentVersion\Explorer\User Shell Folders. Look for {B7BEDE81-DF94-4682-A7D8-57A52620B86F}. A normal value is usually %USERPROFILE%\Pictures\Screenshots.
A quick note on websites and Snipping Tool detection
This comes up a lot with banking pages, streaming sites, school portals, online exams, and protected work apps. Can websites detect that you used Snipping Tool? Usually, no.
A normal website in a browser generally does not get a direct signal saying the user just took a screenshot with Snipping Tool. It may detect some browser-level events, maybe focus changes, but not the actual screenshot action in a reliable way.
There are exceptions in controlled environments. Remote desktop tools, exam proctoring software, enterprise monitoring systems, protected streaming apps, and secure viewers can use additional software-level controls. Those may block screenshots, black out the capture, or flag suspicious activity.
For ordinary web use, browser photo sharing is not screenshot-proof by default. Even if a site disables right-click, blocks downloads, or hides the image URL, someone can still capture the screen.
The practical version
- Keep Automatically save screenshots turned on.
- Know where your Pictures\Screenshots folder is.
- Check OneDrive if Pictures is backed up.
- Use Win + V if you copy a lot of snips.
- Remember that old Windows 10 Snipping Tool may not auto-save at all.
Next time you wonder where Snipping Tool saves screenshots, start with Pictures\Screenshots. If it is not there, clipboard history, OneDrive, and the temp cache are the next places worth checking.
Related reading

Agata
Director of Tiny Toes by Aggi Ltd and co-founder of Safe Frame
Agata is the owner of a London-based photography studio with more than 10 years of experience in family and baby portraits. She has rebuilt her client workflow around faster selections, fewer screenshots, and a proofing experience that treats galleries as a sales step, not a dropbox.
View author page →Reviewed: April 13, 2026
Editorial policy
Related in this topic cluster
Safe Frame Blog
Actionable guides for photographers who want to protect images, speed up proofing, and increase print sales.
Build secure client galleries with SafeFramePro
Protect previews, speed up proofing, and increase print sales with one workflow.