
How to Convert HEIC Photos to JPG on iPhone, Mac, and Windows

Director of Tiny Toes by Aggi Ltd and co-founder of Safe Frame
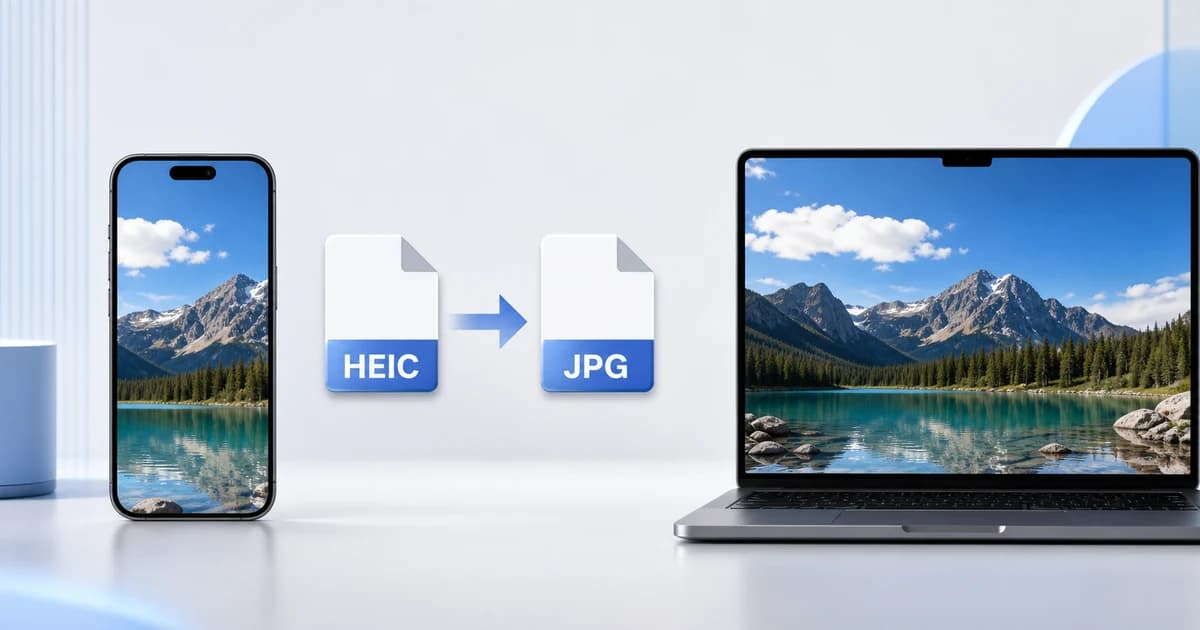
HEIC is excellent for saving storage space, but it can be inconvenient when a website, app, printer, or Windows PC refuses to open it. If you need to convert photos from HEIC to JPG, you usually do not need paid software. iPhone, Mac, and Windows all offer built-in or free ways to turn HEIC images into JPG files that are easier to upload, share, print, and edit.
How to convert photos from HEIC to JPG fast on iPhone, Mac, and Windows
The quickest HEIC-to-JPG method depends on the device in front of you. Here is the short version:
| Device | Fastest method | What to do |
|---|---|---|
| iPhone or iPad | Photos + Files app | Copy the photo in Photos, paste it into Files, and it saves as JPG |
| Mac | Quick Actions | Right-click the HEIC file, choose Quick Actions, then Convert Image |
| Windows 10 or 11 | Paint or Photos for one image; desktop converter for batches | Open the HEIC file, then use Save As and choose JPEG/JPG |
On iPhone, the easiest workaround is to copy a photo from the Photos app and paste it into the Files app. iOS creates a JPG copy in Files automatically, ready to upload, email, or move to another device.
On Mac, the built-in Quick Actions menu is usually the fastest route. Right-click the HEIC image, choose Quick Actions, select Convert Image, set the format to JPEG, and click Convert to JPEG.
On Windows, you may first need Microsoft’s free HEIF Image Extensions from the Microsoft Store so HEIC files open properly. After that, open the image in Photos or Paint and save it as a JPG. If you need to convert many HEIC files at once, a free desktop converter is usually faster than opening each image individually.
What HEIC and JPG mean, and why your photos may need converting
HEIC stands for High Efficiency Image Container. It is Apple’s implementation of the HEIF image format, which uses newer compression methods to store high-quality photos in smaller files. That is why iPhones save photos as HEIC by default: you get more pictures without filling up storage as quickly.
JPG, also written as JPEG, stands for Joint Photographic Experts Group. It is an older format, but it remains the most widely supported image type across phones, computers, browsers, websites, printers, photo editors, and content management systems. If something accepts image uploads, it almost certainly accepts JPG.
From a technical standpoint, HEIC is more efficient than JPG. It can preserve similar visual quality at a smaller file size, and it supports modern features such as Live Photos, depth information, transparency, and high dynamic range color. The tradeoff is compatibility. Some websites, older Windows systems, email tools, online forms, and editing apps still do not handle HEIC well.
That is the real reason HEIC-to-JPG conversion comes up so often. It is not that JPG is inherently better in quality. It is simply more universally accepted.
Step-by-step ways to turn HEIC photos into JPG without losing time
There are several reliable ways to convert HEIC images, and the best option depends mainly on where the photo is stored.
Convert HEIC to JPG on iPhone or iPad using the Files app
Open the Photos app and select the HEIC photo or photos you want to convert. Tap the Share button, then choose Copy Photos. Next, open the Files app and go to a folder such as On My iPhone, iCloud Drive, or a folder you created for converted images.
Long-press in an empty area inside the folder and tap Paste. The iPhone will paste the selected images as JPG files. This is useful because it works for a single photo or multiple photos at once, and it does not require an online converter.
Once the JPG copies are in Files, you can share them, attach them to an email, upload them to a website, or move them to a computer.
Convert HEIC to JPG on Mac using Quick Actions
If you have macOS Monterey or newer, Quick Actions is the simplest built-in option. Find the HEIC file in Finder, right-click it, hover over Quick Actions, and choose Convert Image.
In the dialog box, choose JPEG as the format. You can also pick the image size, such as Actual Size, Large, Medium, or Small. If you want the JPG to keep the original dimensions, choose Actual Size. Click Convert to JPEG, and macOS will create a new JPG copy in the same folder.
This is especially handy for batch conversion. Select multiple HEIC files in Finder, right-click the selection, and use the same Quick Actions command.
Convert HEIC to JPG on Mac using Preview
Preview works on many versions of macOS and gives you a bit more control over the output. Double-click the HEIC photo to open it in Preview. Then go to File and choose Export.
In the export window, open the Format dropdown and select JPEG. Use the quality slider to choose the balance between image quality and file size. Higher quality creates a larger file; lower quality keeps the file smaller. Click Save to create the JPG version.
Preview is a good choice when you want to rename the file, choose a different destination folder, or fine-tune JPEG quality before saving.
Convert HEIC to JPG on Windows using Paint
On Windows 10 or Windows 11, first make sure the computer can open HEIC files. If it cannot, install HEIF Image Extensions from the Microsoft Store. This free extension lets Windows apps read HEIC images.
Once the file opens, right-click the HEIC photo, choose Open with, and select Paint. In Paint, click File, hover over Save as, and choose JPEG picture. Pick a folder, rename the file if needed, and click Save.
Paint is a practical option because it is already included with Windows and produces a standard JPG file that works in most apps.
Convert HEIC to JPG on Windows using the Photos app
If your HEIC file opens in the Windows Photos app, double-click the image to view it. Click the three-dot menu or right-click the image, then look for Save As or a similar save option. Choose JPG or JPEG as the file type and save the new copy.
The exact wording can vary a little depending on your Windows version and the current Photos app update, but the process is the same: open the HEIC file, then save a JPG copy.
Batch convert HEIC to JPG on Windows with a free desktop converter
Paint and Photos work well for one or two images, but they are slow if you need to convert an entire folder. For batch conversion on Windows, a free desktop tool such as iMazing HEIC Converter can convert multiple HEIC files to JPG without uploading your photos to a website.
Download the converter from the developer’s official website, install it, then drag your HEIC files or folder into the app. Choose JPEG as the output format, select the quality level if the app offers that option, and start the conversion. The app will create JPG copies you can upload, share, or print.
If you are using a work or school computer, check your organization’s software policy before installing any third-party converter. Some managed Windows devices also block the Microsoft Store, so an approved desktop tool may be the easiest offline option.
Convert HEIC to JPG on Android
Some Android phones can also capture HEIC or HEIF images, especially when a “high efficiency” camera setting is enabled. The exact menus vary by manufacturer, but Samsung Galaxy phones commonly include a sharing option that can convert HEIF images to JPG.
On many Samsung phones, open the Gallery app, tap Menu or the three-line icon, go to Settings, and enable Convert HEIF images when sharing. After that, when you share a HEIC or HEIF image to another app, Samsung Gallery can send it as a JPG copy.
To stop future photos from saving as HEIC or HEIF on Samsung, open the Camera app, go to Settings, and turn off High efficiency pictures. On other Android phones, look for a similar camera setting, or transfer the file to a Mac or Windows PC and convert it there.
What happens to image quality, file size, and Live Photos when you convert
Converting HEIC to JPG is straightforward, but it helps to know what changes along the way.
Both HEIC and JPG are lossy formats, meaning they use compression to reduce file size. When you convert a HEIC file to JPG, the image is decoded and then compressed again as JPEG. In technical terms, that can introduce a small quality loss. In everyday use, though, whether you are emailing, uploading, printing a standard photo, or sharing with family, the difference is usually difficult to spot.
File size is where the change is often more noticeable. HEIC is more efficient than JPG, so the converted JPG may be significantly larger. For example, a 1.5 MB HEIC photo might become a 3 MB JPG file even though it does not look any better. That is normal and does not mean anything went wrong.
Live Photos are another detail worth noting. A Live Photo includes both a still image and a short video clip. If you convert the HEIC still frame to JPG, the JPG keeps only the still image. The motion portion of the Live Photo is not included.
Metadata can also change depending on the conversion method. Built-in tools such as Apple’s Files app, macOS Preview, and Quick Actions often preserve useful EXIF data, including date, time, camera model, and sometimes location. Some free online converters may remove metadata to reduce file size or for privacy reasons. In some cases that is helpful; in others, it is a problem if you need the original date or camera information.
There is also a color-depth difference behind the scenes. HEIC can support richer color information, including HDR-related data, while standard JPG is more limited. For ordinary sharing, that usually does not matter. For high-end editing or long-term archiving, it is often smart to keep the original HEIC file as your master copy.
How to change your device settings so new photos save as JPG automatically
If you are tired of converting images, you can change your iPhone settings so future photos save as JPG instead of HEIC.
Open Settings on your iPhone, go to Camera, and tap Formats. Choose Most Compatible. After that, new photos will be saved as JPG, and videos will use a more broadly compatible format as well.
This only affects new photos. It does not retroactively convert HEIC images already in your library. For existing images, use the Files app, Mac conversion tools, Windows Paint, or another conversion method.
There is another setting worth knowing if you regularly move photos from iPhone to a computer. Go to Settings, tap Photos, scroll down to Transfer to Mac or PC, and choose Automatic. With that enabled, your iPhone can automatically convert photos to a more compatible format during transfer to a computer that may not support HEIC.
The downside is storage use. JPG files are usually larger than HEIC files, so switching to Most Compatible can make your photo library grow faster over time. If your issue is only the occasional upload or attachment, it may make more sense to keep HEIC enabled and convert only when necessary.
Common questions about HEIC to JPG conversion, including free online options
Why are my iPhone photos saving as HEIC instead of JPG?
Your iPhone saves photos as HEIC by default because the format uses less storage while maintaining strong image quality. Apple uses HEIC to support more efficient photo storage and modern camera features such as Live Photos and advanced color data.
How do I permanently change HEIC to JPG on my iPhone?
Go to Settings > Camera > Formats and select Most Compatible. From that point on, your iPhone will save new photos as JPG. Existing HEIC photos will stay in HEIC unless you convert them separately.
Does converting HEIC to JPG reduce quality?
Yes, technically. Converting from HEIC to JPG means the image is compressed again, so there can be a small loss of quality. For most everyday uses, the difference is not noticeable. If you expect to edit the image heavily later, keep the original HEIC file as well.
Is HEIC better than JPG?
HEIC is better in terms of efficiency and feature support. It can store high-quality images in smaller files and can support newer photo features. JPG is better for compatibility because it works almost everywhere. In practical terms, HEIC is better for storage, while JPG is better for sharing.
Can I convert HEIC to JPG online for free?
Yes, many websites offer free HEIC-to-JPG conversion. Online converters can be useful when you are on a device without built-in conversion tools. That said, be cautious with personal photos, IDs, documents, private screenshots, or anything sensitive. Uploading images to an online converter means sending them to an external server.
For privacy, built-in tools are usually the safer first choice. Use the iPhone Files app, Mac Quick Actions or Preview, and Windows Paint, Photos, or an offline desktop converter whenever possible. Online converters are best reserved for non-sensitive images when you need a quick conversion and do not have access to your usual device.

Agata
Director of Tiny Toes by Aggi Ltd and co-founder of Safe Frame
Agata is the owner of a London-based photography studio with more than 10 years of experience in family and baby portraits. She has rebuilt her client workflow around faster selections, fewer screenshots, and a proofing experience that treats galleries as a sales step, not a dropbox.
View author page →Reviewed: April 13, 2026
Editorial policy
Related in this topic cluster
Safe Frame Blog
Actionable guides for photographers who want to protect images, speed up proofing, and increase print sales.
Build secure client galleries with SafeFramePro
Protect previews, speed up proofing, and increase print sales with one workflow.