
How to Correct Blurry Photos Without Making Them Look Overedited

Director of Tiny Toes by Aggi Ltd and co-founder of Safe Frame
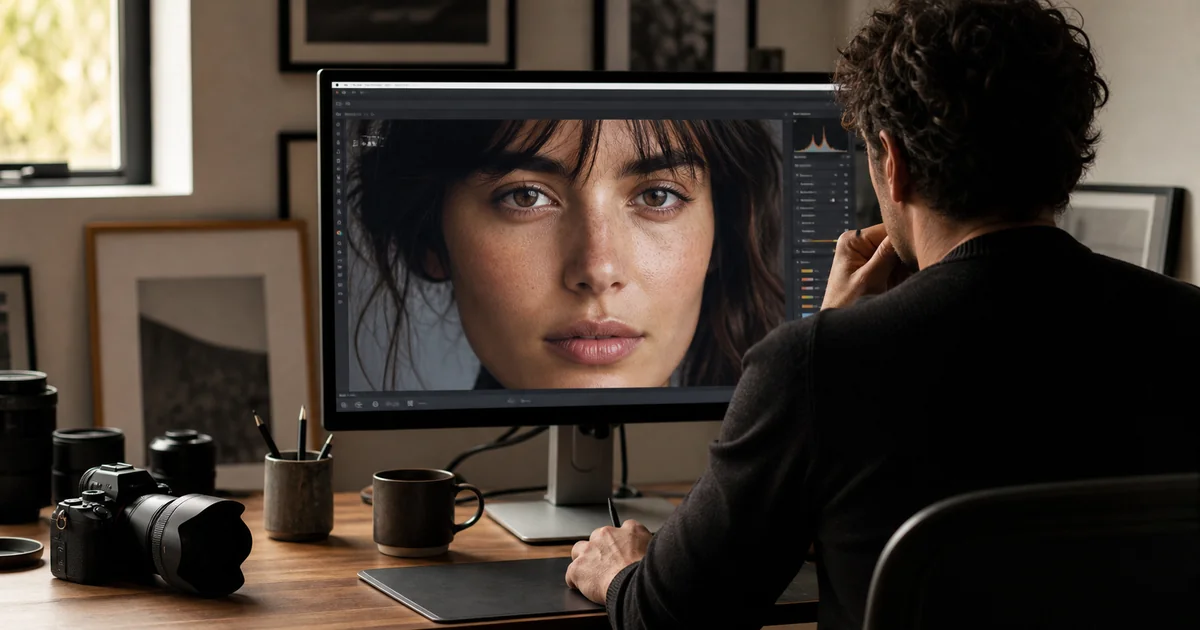
A blurry photo is not always a lost cause. If you want to know how to correct blurry photos, start by figuring out what caused the blur. From there, use the right combination of sharpening, motion correction, noise reduction, or photo enhancement tools to improve clarity without introducing harsh edges or fake-looking detail.
For mild blur, the editing tools already on your phone are often enough. More obvious softness usually calls for desktop software such as Photoshop, GIMP, or Lightroom-style editors. Very soft portraits, old photos, or low-resolution images can sometimes benefit from specialized enhancement tools, but even the best software cannot perfectly recover detail that was never captured in the first place.
How to correct blurry photos: the fastest way to make a picture look sharper
The quickest way to improve a blurry photo is usually to apply light sharpening and modest contrast adjustments, then clean up any noise or grain that becomes more visible afterward. Sharpening increases contrast along edges, which makes subjects appear more defined. It does not truly restore lost detail, but it can make a slightly soft image look noticeably cleaner.
A simple workflow looks like this:
- 1. Open the image in a photo editor.
- 2. Increase sharpness slowly, not all at once.
- 3. Add a small amount of clarity, definition, or texture if available.
- 4. Zoom in to 100% and check faces, text, hair, and object edges.
- 5. Apply light noise reduction if the image starts to look grainy.
- 6. Export a copy so you do not overwrite the original.
The main rule is restraint. Too much sharpening can create bright halos along dark edges, rough skin texture, crunchy backgrounds, and colored speckles. If the image starts to look more processed than natural, back off the sharpness or reduce the radius setting if your editor includes one.
At 100% zoom, overedited sharpening is usually easy to spot. Look for pale outlines around tree branches, dark rims around faces, glittery noise in shadows, jagged text, or skin that suddenly looks gritty. If those artifacts are more noticeable than the original blur, the edit has gone too far.
For a quick phone edit, start with a small bump in sharpness. If the photo still looks soft, add a little definition or clarity. If noise becomes more obvious, use noise reduction carefully. Too much of it can smear fine detail and leave the image looking waxy.
Why photos turn blurry in the first place
Before you try to unblur an image, it helps to identify the kind of blur you are dealing with. Different problems respond to different fixes.
The most common cause is camera shake. This happens when the camera moves while the shutter is open. It is especially common in low light, when the camera uses a slower shutter speed to collect enough light. Camera shake often produces directional blur, with edges appearing dragged in one direction.
Subject motion is similar, but in this case the movement comes from the person, pet, car, or object in the frame rather than from your hands. A running child, a moving dog, or a waving hand may blur even if the background stays sharp.
Missed focus is another frequent issue. Here, the camera focused slightly in front of or behind the subject. A portrait might show sharp ears but soft eyes, or a food photo might have a crisp plate edge and a blurry main dish. Missed focus is usually harder to fix than mild camera shake because the subject detail was never sharply recorded.
Lens smudges can also make photos look hazy or soft. Fingerprints, lint, condensation, and dust scatter light before it reaches the sensor. This is especially common with phone cameras, since the lens is exposed and handled constantly.
Low resolution and high ISO noise can mimic blur too. A photo may look soft because it has too few pixels, has been heavily compressed, or was captured in poor light with a lot of digital grain. In those cases, sharpening alone often makes things worse unless it is paired with noise reduction.
| Blur type | What it looks like | Best first fix |
|---|---|---|
| Camera shake | Whole image smeared in one direction | Motion blur correction or smart sharpening |
| Subject motion | Moving subject is blurry; background may be sharp | Motion deblurring and selective sharpening |
| Missed focus | Wrong part of the image is sharp | Gentle sharpening or enhancement tools |
| Lens smudge | Hazy, low-contrast softness | Contrast, clarity, and lens cleaning next time |
| Low resolution or noise | Pixelated, grainy, or compressed | Upscaling, noise reduction, then sharpening |
How to unblur a picture on iPhone or Android
You can improve many soft photos right in the built-in Photos app on iPhone or in Google Photos or your Android phone's gallery editor. These tools are best for mild blur, not severely out-of-focus images.
On iPhone, open the photo, tap Edit, and look for controls such as Sharpness, Definition, and Noise Reduction. Start with Sharpness and raise it gradually. Then add a little Definition to boost midtone contrast, which can make faces, clothing, buildings, and objects appear clearer. If the image starts to look grainy, apply a small amount of Noise Reduction.
On Android, the labels vary by device, but the workflow is much the same. In Google Photos, open the image, tap Edit, and review the available adjustment options. Some Android gallery apps include Sharpen, Structure, Details, or Clarity. Increase these gently and compare the before-and-after view as you go.
If you want more control than the default gallery editor offers, apps such as Adobe Lightroom Mobile, Snapseed, and Photoshop Express include sharpening, detail, structure, clarity, and noise-reduction tools. The exact controls vary by app, but the same principle applies: make small adjustments, compare often, and avoid pushing every slider upward just because the image still looks soft.
A conservative range is usually safest on mobile. If a slider runs from 0 to 100, staying in the lower third is a good starting point. A subtle improvement that looks natural is almost always better than a heavy-handed edit that calls attention to itself.
For portraits, zoom in on the eyes while editing. If the eyes look clearer without making skin texture harsh, you are probably moving in the right direction. For text, signs, or documents, check whether the letters actually become easier to read or whether sharpening is just adding jagged outlines. If the text was too blurred to begin with, a phone editor may not be enough.
How to fix blurry photos in Photoshop, GIMP, or other desktop editors
Desktop editors offer much more control than mobile apps, and that matters when you want to correct blur without damaging the image. Programs such as Adobe Photoshop, GIMP, Affinity Photo, and similar editors let you adjust sharpening amount, radius, threshold, blend modes, and in some cases the type of blur being addressed.
Smart sharpening tools are a strong starting point. They let you control how aggressively edges are sharpened and how many surrounding pixels are affected. A lower radius usually works better for fine detail such as eyelashes, text, or fabric. A higher radius can help larger shapes, but it also increases the risk of visible halos.
If the image shows camera shake or motion blur, look for a motion blur or shake reduction option. These tools try to estimate the direction and length of the blur, then reverse some of that movement mathematically. They work best when the blur is fairly consistent across the frame, such as in a handheld shot with slight movement during exposure.
Another useful approach is the high pass technique. In this workflow, you duplicate the image layer, apply a high pass filter to isolate edge detail, then set that layer to a blend mode such as Overlay or Soft Light. Lowering the layer opacity gives you a more controlled sharpening effect. One reason this method remains popular is that you can mask it into only the areas that matter, such as a face, product, or main subject, while leaving smooth backgrounds untouched.
GIMP users can try Sharpen, Unsharp Mask, or High Pass workflows. The names differ from Photoshop, but the principle stays the same: boost edge contrast carefully, avoid halos, and combine sharpening with noise reduction when needed.
Selective sharpening usually produces the best result. A portrait rarely benefits from equal sharpening across the background, skin, hair, eyes, and clothing. Eyes and key edges can take more sharpening, while skin and blurred backgrounds should stay natural. In practice, this targeted approach tends to look more polished than applying one strong sharpening setting to the entire frame.
If you are editing a still frame pulled from video, begin with motion deblurring rather than standard sharpening. Video frames often contain motion blur because of the shutter speed used during recording. Ordinary sharpening can make the frame look harsher without doing much to correct the directional smear. For thumbnails, cover images, or presentation slides made from video footage, it is often better to choose a sharper frame first, then apply light sharpening only where needed.
When specialized photo enhancers can help and when they cannot
Specialized photo enhancers can be useful when traditional editing is not enough. These tools are built to recognize common image patterns and rebuild apparent detail in areas such as faces, hair, text, and edges. They are often helpful for old family photos, soft portraits, compressed social media images, or low-resolution pictures that need to be enlarged.
Examples include tools and apps such as Remini, Fotor, Adobe Express, and other dedicated photo enhancement services. Features and results vary, so it is worth testing them on a copy of the image rather than assuming one tool will fix every kind of blur.
What these tools do not do is recover original information that was never captured. Instead, they estimate what missing detail should look like. The results can be impressive, but they can also introduce inaccuracies. A face may look slightly different, skin texture may become overly smooth, or small text may be guessed incorrectly.
These tools make the most sense when the goal is to improve an image for personal use, printing, sharing, or presentation. Use more caution when accuracy matters, such as with evidence, identification, documents, or archival material. In those situations, a cleaner-looking image is not necessarily a more truthful one.
In many cases, the best result comes from combining methods. You might reduce noise first, then use an enhancement tool, then finish with very light sharpening. If the outcome feels unnatural, compare it with the original and dial the effect back if the software allows.
It also helps to keep expectations realistic. A slightly shaky vacation photo can often be improved. A completely out-of-focus license plate, a tiny cropped face, or a fast-moving subject captured as a smear will not become perfectly sharp. Enhancement may make the image more usable, but it will not turn it into a crisp original.
How to avoid blurry photos the next time you shoot
Fixing blur is useful, but preventing it is easier. Most blurry photos happen because the camera did not have enough light, the subject moved, the focus landed in the wrong place, or the lens was dirty.
Use a faster shutter speed when possible. A common handheld guideline is to use a shutter speed at least as fast as the focal length of the lens. For example, with a 50 mm lens, try to stay around 1/50 second or faster for a still subject. For kids, pets, sports, or events, you will often need much faster speeds.
Stabilize the camera whenever you can. Hold your phone or camera with both hands, keep your elbows close to your body, lean against a wall, or use a tripod. If your phone or camera offers optical or in-body stabilization, turn it on.
Tap to focus on phones, especially for portraits, food, products, and close-ups. Make sure the focus point is on the most important part of the image, such as the eyes in a portrait or the label on a product.
Clean the lens before important shots. A quick wipe with a microfiber cloth can prevent the hazy softness many people mistake for a focus problem. Avoid rough fabric, paper towels, or anything else that could scratch the lens.
Finally, take more than one shot when the moment matters. If you are photographing a moving subject or shooting in low light, capture a short burst. One frame may be blurry, but another may be sharp enough that you do not need to fix it later.
You can often correct a blurry photo enough to make it shareable, printable, or simply more pleasant to look at. Start with gentle sharpening, match the tool to the type of blur, and resist pushing the edit so far that the image stops looking natural. The best fix is the one that makes the photo clearer while still looking believable.
Related reading

Agata
Director of Tiny Toes by Aggi Ltd and co-founder of Safe Frame
Agata is the owner of a London-based photography studio with more than 10 years of experience in family and baby portraits. She has rebuilt her client workflow around faster selections, fewer screenshots, and a proofing experience that treats galleries as a sales step, not a dropbox.
View author page →Reviewed: April 13, 2026
Editorial policy
Related in this topic cluster
Safe Frame Blog
Actionable guides for photographers who want to protect images, speed up proofing, and increase print sales.
Build secure client galleries with SafeFramePro
Protect previews, speed up proofing, and increase print sales with one workflow.